Well. The past few days have been a whirlwind of activity both for this itty bitty blog as well as my Instagram. I'm feeling a little starstruck because Reagan Tunstall of Tunstall's Teaching Tidbits shared my photo of how I organized her guided math/monthly centers for second grade. It got so many likes on her Facebook and Instagram, and she was kind enough to repost it and tag me. This meant that I gained a huge amount of followers! If you are one of those people, thank you!! A lot of people started asking questions about how I organized the inside, the binders, etc., so I made a quick video about it all!
#FilmedOniPhone6
It was definitely the boost I needed to start actually posting on this blog again. I even gave it a redesign :)
This morning I decided to add a little more organization to my math centers, and as I snapped a picture for Instagram, I decided I'd snap a new more pictures and create a blog post so that I could really explain my thoughts on the guided math org.
The picture that started it all...
How I Organize My Unit Materials
I was lucky in that I taught summer school this summer, so I had some time to give my organization and these lessons a test run. The green boxes are Sterilite brand, and I purchased them at Target. While my local Targets keep these regularly stocked, many people have told me their Target doesn't have these exact ones. I did a little searching online, and apparently you can get some blue ones in a five-pack from Home Depot. Amazon has a six pack in blue for a better price. Unfortunately, Target doesn't even have the green ones on their website :( Someone else told me that their local Dollar General has them though. I wish I could be more helpful!
For each unit container, I put the spine labels on the short edge of the box, taped on the inside. Then I printed the cover and taped it on the inside of the lid facing up, like in the picture below. This allows me to distinguish which unit is inside each box even from the top. On the back of the lid, I taped the standards page that Reagan provides for each unit. This will make it easy if I need to know exactly which standards I'm teaching in each unit simply by grabbing the lid (see picture below).
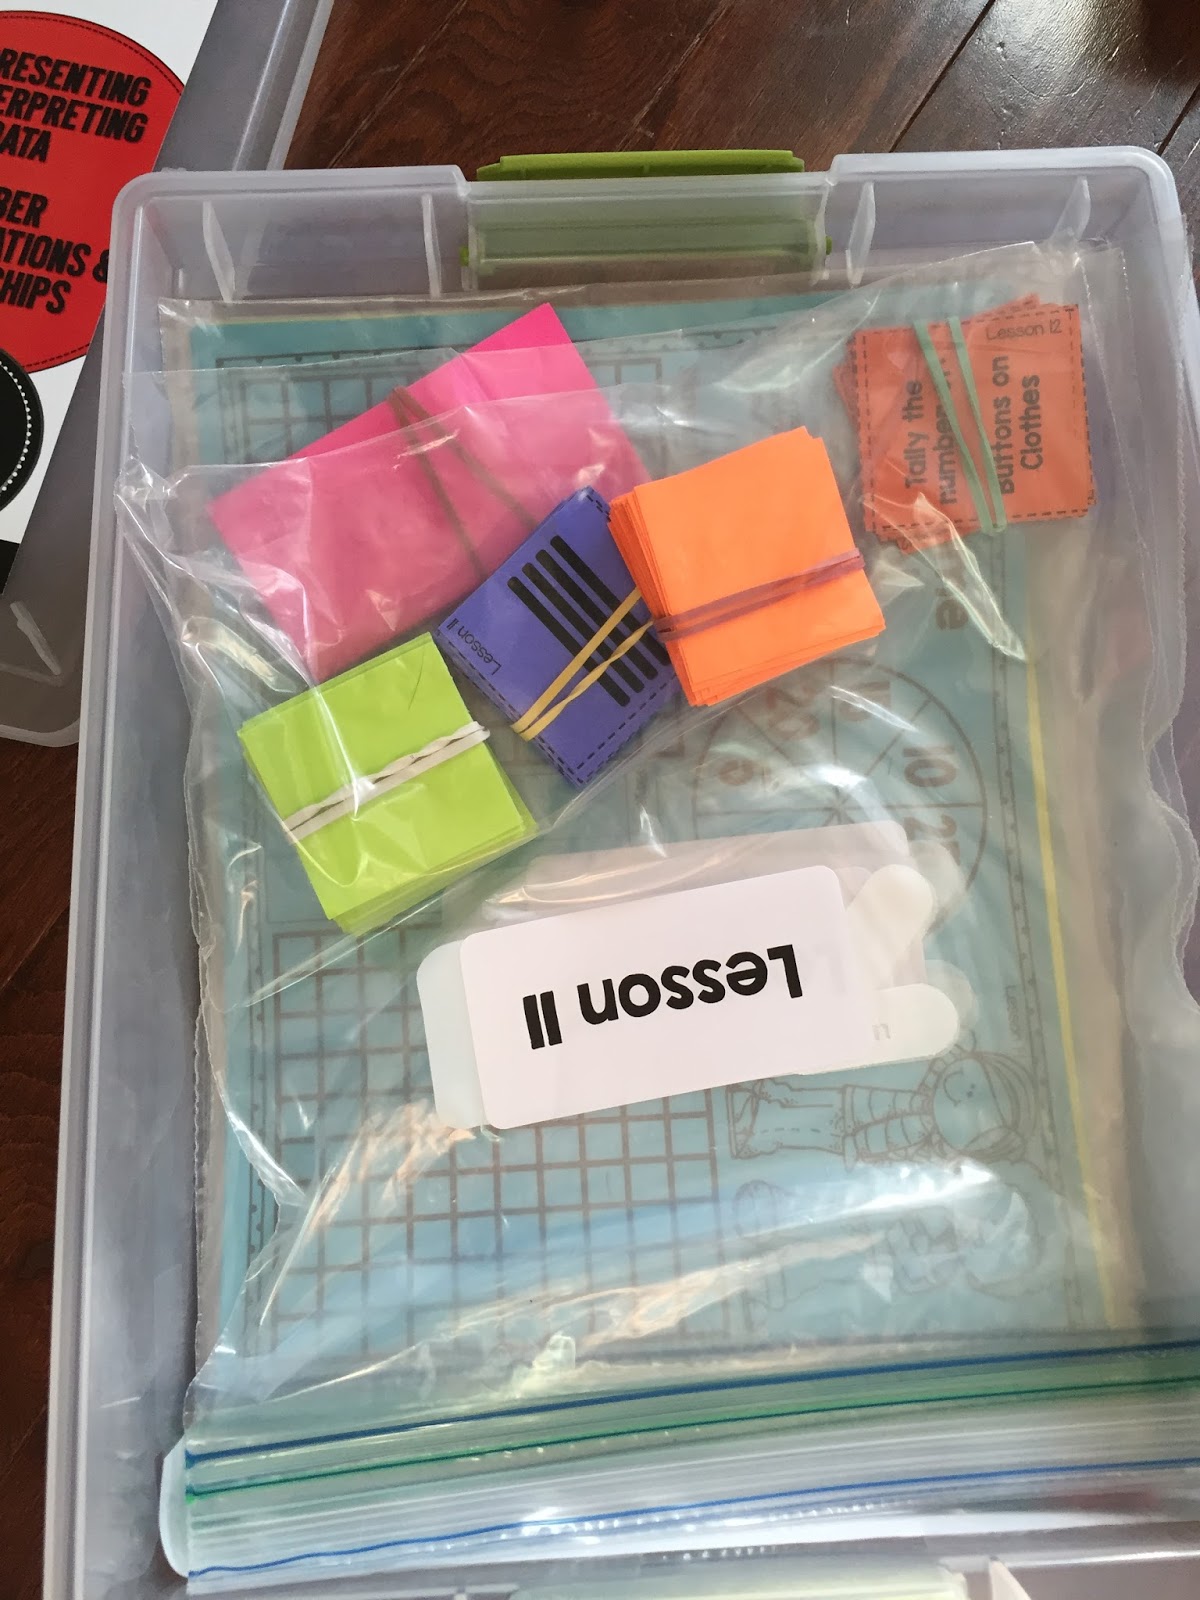
Here is what it looks like on the inside of my box. As you can see, Unit 1 is pretty hefty! I really had to squeeze everything in there for it to fit. When I first open my unit box, I have them organized so that the next lesson is on top (Lesson 1 for now). I used Avery 8463 shipping labels to label each bag. I typed Lesson 1-19 on two pages of labels (they have 10 on each page), and used one label to write "Unit Materials". I hate my own handwriting, which is why I used labels to avoid having to write things. You can see in the picture above, I have a sandwich sized bag with precut squares of different construction paper that are used in multiple lessons in unit 1, so I placed these in the front. Any materials that are used multiple times throughout the unit, such as workmats, I placed in either a gallon or sandwich sized bag and put it right in front so that it was easy to access. Note that the bag in the picture above doesn't say "Unit Materials" with a label on the front, but it should... that was a later inspiration :)
Sticker Added!
19 lessons
Inside each gallon bag, I have the lesson materials either in a quart bag or rubber-banded together. If the unit was particularly large, like this one, I stacked the second half of the lessons in the opposite direction to make more room!
Lessons Flipped Backwards
How I Organize my Unit Binders, Printables, and Journals
I put each unit in a 1 inch binder. I printed the cover and put it in the front (duh), and used spine labels.
Front
For the back cover, I printed the standards page and slipped it in there. I wanted it to be easy for me to know which standards I was teaching in case I needed to write it somewhere.
Back
For the inside, I have each page inside a page protector. I feel like went through at least 2 or 3 100 packs of page protectors for all of the units... but it's so worth it. When I was teaching summer school, a kid spilled his chocolate milk all over the binder... but it was protected, so no harm done! The first page of every unit is Reagan's daily warm ups (included in each unit). In summer school, I had a binder clip hanging over a pushpin tacked onto my front board, and I switched out the warm up activities for each unit. When you're sone with a unit, you put the warm ups page back in the binder and put the new one up (keep it in the page protector). These are awesome! Since summer school was short, I changed units every week, but my kids still loved all of the different games, and I loved how it was a great review for them!
Warm ups page
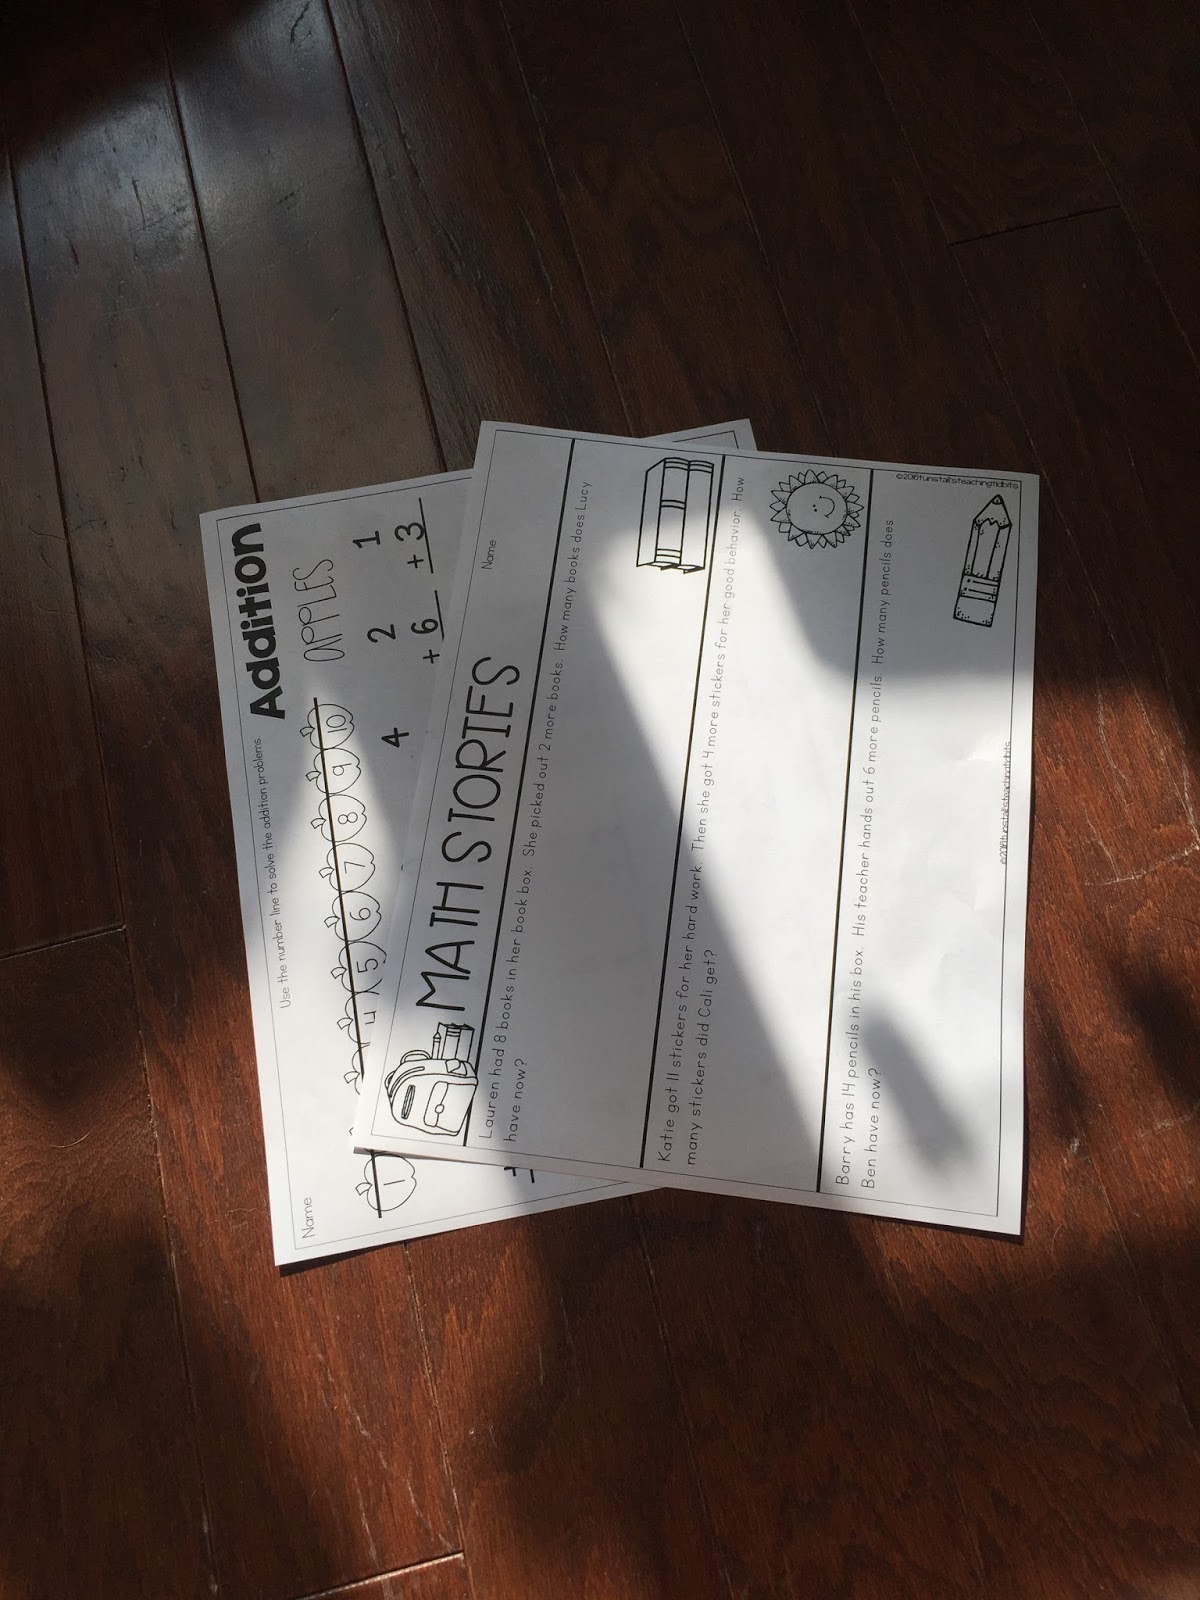
Next, every five lessons (about a week) I put a page for math journals and a page for printables. Reagan's centers bundle comes with ten themed journal pages for each month. I also have her bundle of math journals for second grade. I printed all of it out, and took some time during the summer to put a good mix together each week of themed activities and year-round activities. I picked five per week, put them in a stack, and tucked it behind the green paper. Behind the blue "Apply Station" page, I put 2 to 4 of the monthly printables. I didn't put five, mainly due to the fact that I only have Reagan's 10 per month at my disposal, but also because I plan on using pages out of our district math workbook as well. Otherwise, there are lots of free worksheets from websites like Math Salamanders that can be printed. These pages help me plan for a week at a time. This was very helpful in summer school, because I could just grab the stack and go. At my school, we can't make our own copies, we must give them to a wonderful lady who works the copy room with a request sheet. This is both a blessing and a curse, but it definitely means no last second copies! This method worked great for me in summer school because I could just slip the week's worth of pages out and put it in my stack of copies, with directions to just make each stack of worksheets a different color :)
Journals
Journals that were tucked behind the green page
Worksheets
Only 2 - room to add more!
If you're curious about the "Apply" and "Journal" stations, I follow Reagan's method of math stations, which you can read about here. It's awesome - I use her reading stations too!
As for the rest of the binder, I have each lesson in it's own page protector. I store any printables behind each lesson, though I make sure to display them. If I don't see the printables, I won't know that I need to make copies! If there is more than one printable that goes with the lesson, I use a second page protector to make sure I can see each one. It helps for planning too!
Stored front and back
Finally, lesson 20 for each unit is an end of unit assessment. These are fantastic, because they copy the same activities that students have already done at your small group table, so there is little explanation needed! I store these with each page separate as well. In summer school, I found that this made it easier to flip to the assessment and check the format, or know if I needed to spend extra time on an activity because they would be assessed over it. And as a side note, I found it to be much easier to give the assessments in small group vs. whole group. I tried it both ways over summer, and it was definitely easier in small group. It helps their nerves to do it at the teacher tables (with privacy dividers of course). It also allowed me to closely monitor them, read instructions, and stop them if they misunderstood instructions and explain them again. This boosted their scores on the assessment because the instructions were crystal clear!
Some assessment pages
How I Organize the Monthly Centers
I organize my monthly centers in the same way as the unit boxes. I put the covers on the outside, and on the inside, instead of unit standards I put the list of games and the skills covered. This will help me see at a glance the various skills I can have my students practice. I used Photoshop to edit the covers to be "binder spines" for my boxes. Lucky for you Reagan just uploaded the centers spines for FREE on her TPT - they now come with several choices for "spines"! You can find links to them at the bottom of this post.
Cover on lid
Spines
List of centers on inside
As you can see from the picture, I have my centers in gallon-sized bags. Inside the gallon bags, I put any large game boards and the instructions card. I also put the small pieces in sandwich or quart sized bags and put this inside. When it's time to change out a center, I just pull all materials from the bag, add a spinner, dice, or whatever the center needs, and then I'm ready to go. It occurred to me as I took that picture that I could make stickers to label the bags as well. That's what I did this morning to further organize my centers.
More labels!
I simply typed the name of the center, and then in a different font, I typed what skill it has my students practice, based on what Reagan typed on the lid. Now I will know exactly which stations are out based on which bags are empty! This will also help me flip through the bags until I find the skill I want.
Labeled and Ready!
Sidenote: I could NOT have gotten through so much this summer without a paper cutter! After nearly buying a huge expensive one from an office store, I found this one at Walmart! It was only $25, and works great!
Swingline ClassicCut Lite Guillotine Trimmer
You can find it at your local Walmart, or buy it online here. The one online is green like my boxes ;)
I hope this helps anyone struggling to organize their guided math materials! You can purchase the guided math units, centers, and journals from Reagan Tunstall at the links below!
Hi Jenny. I love the way you've been organizing! I'm working on the same thing with Reagan's 2nd grade guided math as well! Thank you for the video and the detailed blog post. I was wondering if you would be willing to share the labels that you made? -kimberly morris


Hi Jenny. I love the way you've been organizing! I'm working on the same thing with Reagan's 2nd grade guided math as well! Thank you for the video and the detailed blog post. I was wondering if you would be willing to share the labels that you made?
ReplyDelete-kimberly morris
What great organization tips!
ReplyDelete